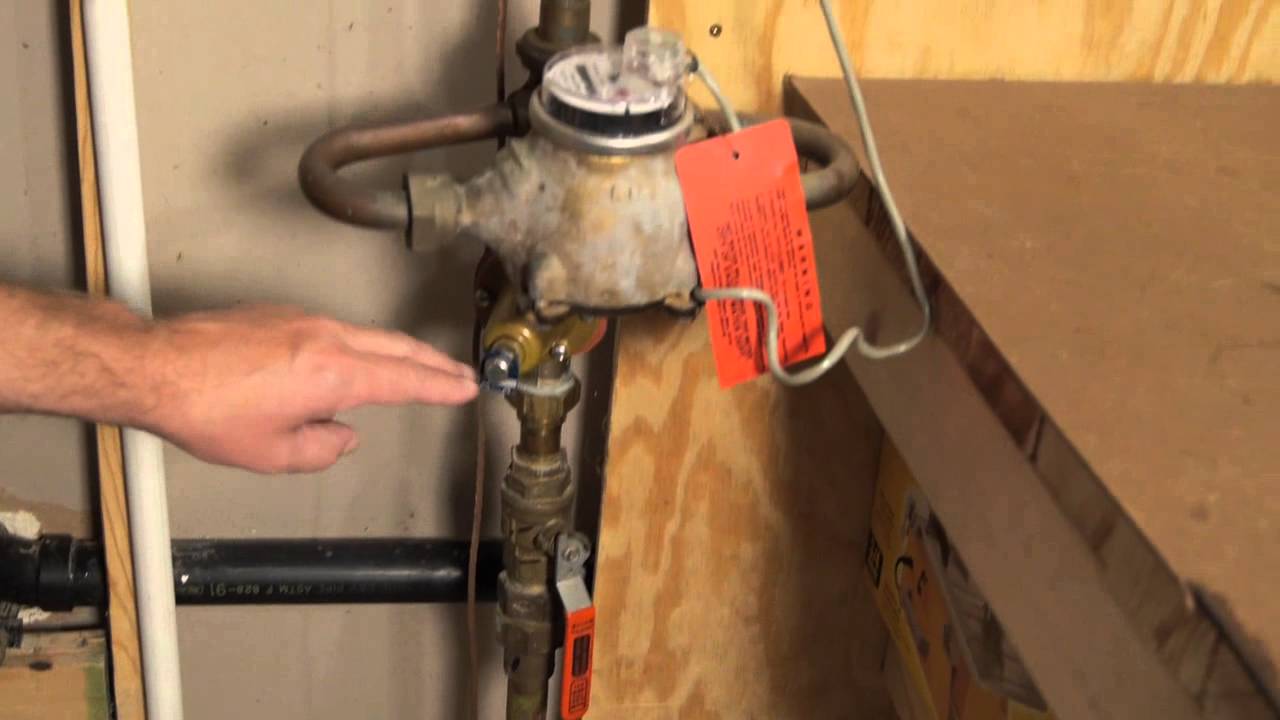
:max_bytes(150000):strip_icc():format(webp)/human-hand-turn-off-shut-off-valve-home-water-supply--825171248-f1141ec757064532ac5aafd93efbf189.jpg)
Whether you need to turn off the water to help prevent leaks while away on vacation, replace an isolation valve in the home, or shut off the water due to an ongoing leak, it’s necessary to have a functional main water shutoff valve to protect the home from water damage, leaks, and to have full control over your home. This is why an old, worn-out main shutoff valve needs to be replaced. Signs that the valve is no longer working the way it should include the inability of the valve to fully shut off the flow of water, a seized or difficult-to-turn valve handle, and an active leak from the valve.
Before You Begin
WARNING
Replacing the main water shutoff valve isn’t an easy DIY task, so if you aren’t experienced with soldering, compression fittings, or plumbing in general, this is a task better left to a professional plumber for many reasons, including to avoid potential flooding, water damage, and even the risk of setting the home on fire while soldering. Always take all possible precautions before starting a project to help ensure that the work can be completed safely and successfully.
Keep in mind that the first thing that needs to happen to replace the main water shutoff valve is that the water coming into the home needs to be shut down. However, if the water is not fully shut down it can be incredibly difficult to solder, so you need to know how to use compression fittings to deal with these circumstances. Compression valves are also necessary if the curb stop (street) valve fails after the shutoff valve has been removed, in order to quickly stop the incoming rush of water that will begin flooding your home without a valve to stop the flow.
If you aren’t sure what a compression fitting is or why water would interfere with soldering, then it’s best to hire a professional to replace the main water shutoff valve.
What You’ll Need
Equipment / Tools
Bucket
Towel
Flux paste brush
Pipe brush
Pipe cutter
Blow torch
Channel locks
Pipe wrench
Fire extinguisher
Gloves
Safety glasses
Soldering blanket
Drop cloth
Jumper cables
Materials
Flux paste
Solder
Ball valve
MAPP gas
Compression fitting
Teflon tape (Plumbers’ tape)
Grit cloth
Paper towel
Instructions
There are several different types of valves, ranging from emergency shark bite valves to PEX pipe valves, but the most commonly used main shutoff valves are solder and compression valves. With this in mind, these steps for replacing the main water shutoff valve are separated into two common valve type categories to provide clear, concise steps for dealing with both solder and compression valves.
Also, the new valve used as the replacement here is a ball valve. This type of valve has been proven on several occasions to be affordable, durable, and more effective than gate valves for residential water services.
Replacing Solder Main Water Shutoff Valves
Arrange to Have the Water Shut Down at the Street
Before doing anything with the valve, it’s necessary to plan to shut the water down. Typically, the flow of water into the home is controlled by the main water shutoff valve, so without this valve in place, you will need to have the water shut off outside the home at the curb stop. Contact your local public works office to have the water shut down at the curb.
Prepare the Work Area
While the goal is to quickly and easily remove and replace the main water shutoff valve, it’s important to prepare the area to make the process as streamlined as possible.
Attach the jumper cables to the pipe on either side of the valve. The electrical system is commonly grounded through the main water line, so by attaching the jumper cables, you create a path for the electricity to flow in the case of a short in the system. Otherwise, when you remove the old valve it’s possible that you can become the conduit for this flow of electricity.
Lay down a drop cloth and set up a bucket underneath the valve with a towel close at hand to wipe up any water that may miss the bucket. Take out the flux paste, blow torch, grit cloth, pipe brush, new ball valve, pipe cutter, channel locks, fire extinguisher, soldering blanket, a roll of solder, gloves, and safety glasses. Arrange these supplies so that they are within reach and neatly organized.
It’s also a good idea to have a prepared compression valve nearby in case of an emergency. This emergency valve can be quickly installed if the curb stop valve fails after cutting the pipe.
Turn the Water Off
With the area prepared, it’s time to shut down the water. Speak to the public works official to turn the water off or operate the curb key on your own, if you have permission and the experience. Once the curb stop valve is closed, head inside and test the water by turning on a faucet. The water should come out regularly, at first, then begin to taper off until it stops completely, indicating that the curb stop valve works and is fully closed.
If the water doesn’t stop, then the curb stop valve may not be completely closed or it may be broken. Discuss possible options with the public works official to have the curb stop valve repaired before proceeding.
Drain the Water Line
Head to the sink that is closest to the main water shutoff valve and open the faucet to drain the water line. As noted above, the water should initially come out at a normal rate, then taper off before stopping entirely.
Keep in mind that some homes have an isolation valve located just a few feet away from the main water shutoff valve. By turning off this isolation valve, you don’t need to drain the entire water line. Though some water will still come out of the pipe when the old valve is removed, the amount should be significantly reduced.
Remove the Old Valve
Double-check that the jumper cables, drop cloth, bucket, and towel are all in place, then use the pipe cutter to start cutting through the pipe on the outlet side of the valve. Expect some water to come out and fall into the bucket. The flow of water should stop after a few minutes, indicating that the water line is completely drained. Finish cutting the pipe, then move to the inlet side and repeat the process. This time there should be little to no water coming from the pipe while it’s being cut.
Alternatively, the valve can be ‘sweated’ off by applying constant heat with the blowtorch in order to melt the old solder joints, allowing the valve to be removed with a set of channel locks, though this method is only recommended for individuals with soldering experience.
Clean the Pipe and Fittings
Take the towel and clean the pipe to remove any dust or debris, then use the grit cloth to scrape off the top layer of oxidized metal material, revealing clean copper pipe. Apply flux paste to the exterior of the pipe to prepare it for soldering.
You will also want to use a wire pipe brush to clean the inside of the new valve, then apply flux paste to the inside of the valve. This paste helps to remove contaminants between the two surfaces and draw in the solder as it’s heated up.
Solder the Inlet Side of the Valve
Slide the valve over the copper pipe, ensuring that the bleeder valve (the small cap located on the side of the ball valve) is positioned toward the house side. With the valve open and facing the correct direction, it’s time for the blow torch.
Place a soldering blanket behind the pipe to block the flame from the blow torch, protecting the wall, insulation, and any surrounding items from fire damage. Attach a canister of MAPP gas to the blow torch. Standard propane doesn’t burn hot enough to effectively solder plumbing, but methylacetylene-propadiene propane (MAPP gas) does.
Unroll a portion of solder and slowly apply heat to the inlet side of the new valve. After a few seconds, apply the solder to the valve joint. It will slowly liquefy and flow into the gap between the pipe and the valve, forming a metal seal. Make sure to move the solder around the entire joint to ensure that there are no gaps in the seal, then turn off the blow torch and allow the pipe to cool.
Apply a wet towel to the pipe about 30 seconds to a minute after soldering to help cool down the pipe without interfering with the solder joint.
WARNING
The pipe is still hot and will heat up the towel quickly, so make only brief contact.
Test the Valve for Leaks
Once the valve and pipe have cooled, use a phone to speak to the public works official or an experienced helper. Have them slowly turn on the water at the curb stop while the new valve is in the open position.
The water should gradually fill the incoming pipe and begin to pour into the bucket. At this point, close the new valve and wipe it down with paper towel to inspect for leaks. Even a drop of water will immediately show up on paper towel, so it’s a great resource to ensure that there are no leaks in the new valve.
If no leaks are detected, then the curb stop valve can be left fully open. However, if this solder joint is leaking, the water will need to be shut down again and the joint will need to be re-soldered.
Solder the Outlet Side of the Valve
If the first solder is successful, then it’s time to finish the job. Repeat the process to solder the outlet side of the valve, ensuring that the wall and surrounding items are properly protected with the soldering blanket. Remember to slowly add heat to the joint, so that the flux paste can work to pull in the liquid solder and form a complete seal. Too much heat will simply burn the paste and make it more difficult to get the desired result.
Test the Valve for Leaks
Wait for the valve to cool, then test out the new solder joint by opening the new main water shutoff valve. The water should flow into the system and begin pouring out of the nearby open faucet. Allow the water to continue flowing until you have checked the joint for leaks.
If a leak is found, then you will need to turn the water off, drain the system again, and re-solder the joint. Keep in mind that if you used an isolation valve, then there will be much less water to drain in the case of a leak.
Recharge the Plumbing System
With the new valve installed and leak-free, you can recharge the plumbing system by turning on the water and opening nearby faucets. The water will slowly begin to pour out of the faucet, pushing air out of the system.
You will know that the system is fully recharged when there is no longer air coming out of any plumbing fixtures in the home, including faucets, showerheads, and toilets. However, it should be noted that debris from the inside of the pipes can clog faucet aerators, so it’s advised to remove the faucet aerators before recharging the system, though this isn’t mandatory.
Replacing Compression Main Shutoff Valves
Arrange to Have the Water Shut Down at the Street
Contact the local public works office or hire a local plumber to use a curb key to turn off the curb stop valve located outside of the home. Some cities will allow you to operate this valve, but this isn’t often the case, because the curb stop valve is typically owned by the city or municipality.
Prepare the Work Area
Prepare the work area to make the process as streamlined as possible by gathering the necessary tools and supplies and organizing them neatly within reach. For replacing a compression valve, you will need a drop cloth, grit cloth, a bucket, a towel, compression fittings, a threaded ball valve, Teflon tape, a pipe cutter, channel locks, a pipe wrench, gloves, safety glasses, and jumper cables.
Attach the jumper cables to the pipe on either side of the valve to create a path for the electricity to flow in the case of a short in the system. Lay down the drop cloth and set up the bucket underneath the valve with a towel nearby.
Build the Compression Valve
A compression valve typically consists of a threaded ball valve that is attached to a FIP fitting that can be soldered to copper pipe. However, to avoid soldering, the valve can be connected to two compression fittings on either side of the valve.
Prepare these fittings by taping the threads of the valve with Teflon tape, then screwing the compression fittings onto the valve. Use the channel locks and a pipe wrench, or two pipe wrenches, to tighten the connection, but do not tighten the compression nut on these fittings.
Turn the Water Off
With the area prepared and the compression valve ready to go, you can indicate to the public works official or the plumber to shut down the water. Once the curb stop valve is closed, head inside and test the water by turning on a faucet. The water should come out regularly, at first, then begin to taper off until it stops completely, indicating that the curb stop valve works and is fully closed.
If the water doesn’t stop, then the curb stop valve may not be completely closed or it may be broken. Discuss possible options with the public works official to have the curb stop valve repaired before proceeding.
Tip
While a compression valve can be installed with a small amount of water coming through the line (or even with full water pressure), it’s always better to have the water completely shut down if at all possible.
Drain the Water Line
Open the faucet that is closest to the main water shutoff valve to drain the water line. As noted above, the water should initially come out at a normal rate, then taper off before stopping entirely.
Some homes have an isolation valve located near the main water shutoff valve. By turning off this isolation valve, you don’t need to drain the entire water line. Though some water will still come out of the pipe when the old valve is removed, the amount should be significantly reduced.
Remove the Old Valve
Do a quick check of the jumper cables, drop cloth, bucket, and towel before proceeding, then use the pipe cutter to start cutting through the pipe on the outlet side of the valve. Expect some water to flow out of the cut and drop into the bucket. The water should stop after a few minutes, indicating that the water line is completely drained. Finish cutting the pipe, then move to the inlet side and repeat the process. This time there should be little to no water coming from the pipe while it’s being cut.
Alternatively, cut the pipe at one end, then loosen the compression valve nut and slowly slide the compression fitting off the pipe. This method is commonly used by plumbing professionals to prevent cutting the pipe when there isn’t a lot of pipe coming out of the foundation, but if you have enough space, then cutting the pipe on both sides is a cleaner and easier way to remove the old valve.

Clean the Pipe
Take the towel and clean the pipe to remove any dust or debris, then use the grit cloth to scrape off the top layer of oxidized metal material, revealing clean copper pipe. This ensures that the compression fitting can form a tight seal around the pipe.
Install the Main Water Shutoff Compression Valve
Slide the valve over the copper pipe, ensuring that the bleeder valve (the small cap located on the side of the ball valve) is positioned toward the house side. Adjust the valve to make sure that the compression fitting is completely over the pipe, then begin to hand-tighten the compression nut.
Use a set of channel locks and a pipe wrench, or two pipe wrenches, to grip the nut and the compression fitting. Tighten the nut until the fit on the pipe is snug and the compression fitting can no longer be moved or pulled off the pipe.
Repeat the process with the other side of the compression valve, ensuring that the valve and compression fittings remain in place while the nuts are being tightened. If done correctly, this will squeeze the thick, rubber washers that are inside these fittings, forming a watertight seal on the pipe.
Test the Valve for Leaks
When the valve is in place and the compression fittings are adequately tightened, have the public works official or plumber slowly turn on the water. Visually inspect the fittings for leaks, then turn off the valve, allowing pressure to build up on the inlet side of the main water shutoff valve.
Check the inlet compression fitting for leaks by wiping it down with a paper towel. Even a drop of water will immediately show up on paper towel, so it’s a great resource to ensure that there are no leaks in the new valve.
If no leaks are detected, then open the valve and test the outlet compression fitting. If either side is leaking, you will need to shut the water down outside and reinstall the compression valve. Just make sure to inspect the compression fittings before reinstallation, as the internal components may have been damaged during the initial installation and will need to be replaced before proceeding.
Recharge the Plumbing System
With the new valve installed and leak-free, you can recharge the plumbing system by turning on the water and opening nearby faucets. The water will slowly begin to pour out of the faucet, pushing air out of the system.
You will know that the system is fully recharged when there is no longer air coming out of any plumbing fixtures in the home, including faucets, showerheads, and toilets. Debris from the inside of the pipes can clog faucet aerators, so you may want to remove the faucet aerators before recharging the system, though this isn’t essential.
Contact us for more information.